
It still doesn't feel like fall here in Houston, but I'm starting to decorate inside my home to help me get into the autumn mood. I've been meaning to make a pillow like this for a couple years now and finally whipped one up this past week. I'm not sure why it took so long because it was a really quick project. The total sewing time was less than 20 minutes. I'm in love with how cute it turned out. I ended up making two, and gave one away as a birthday present.
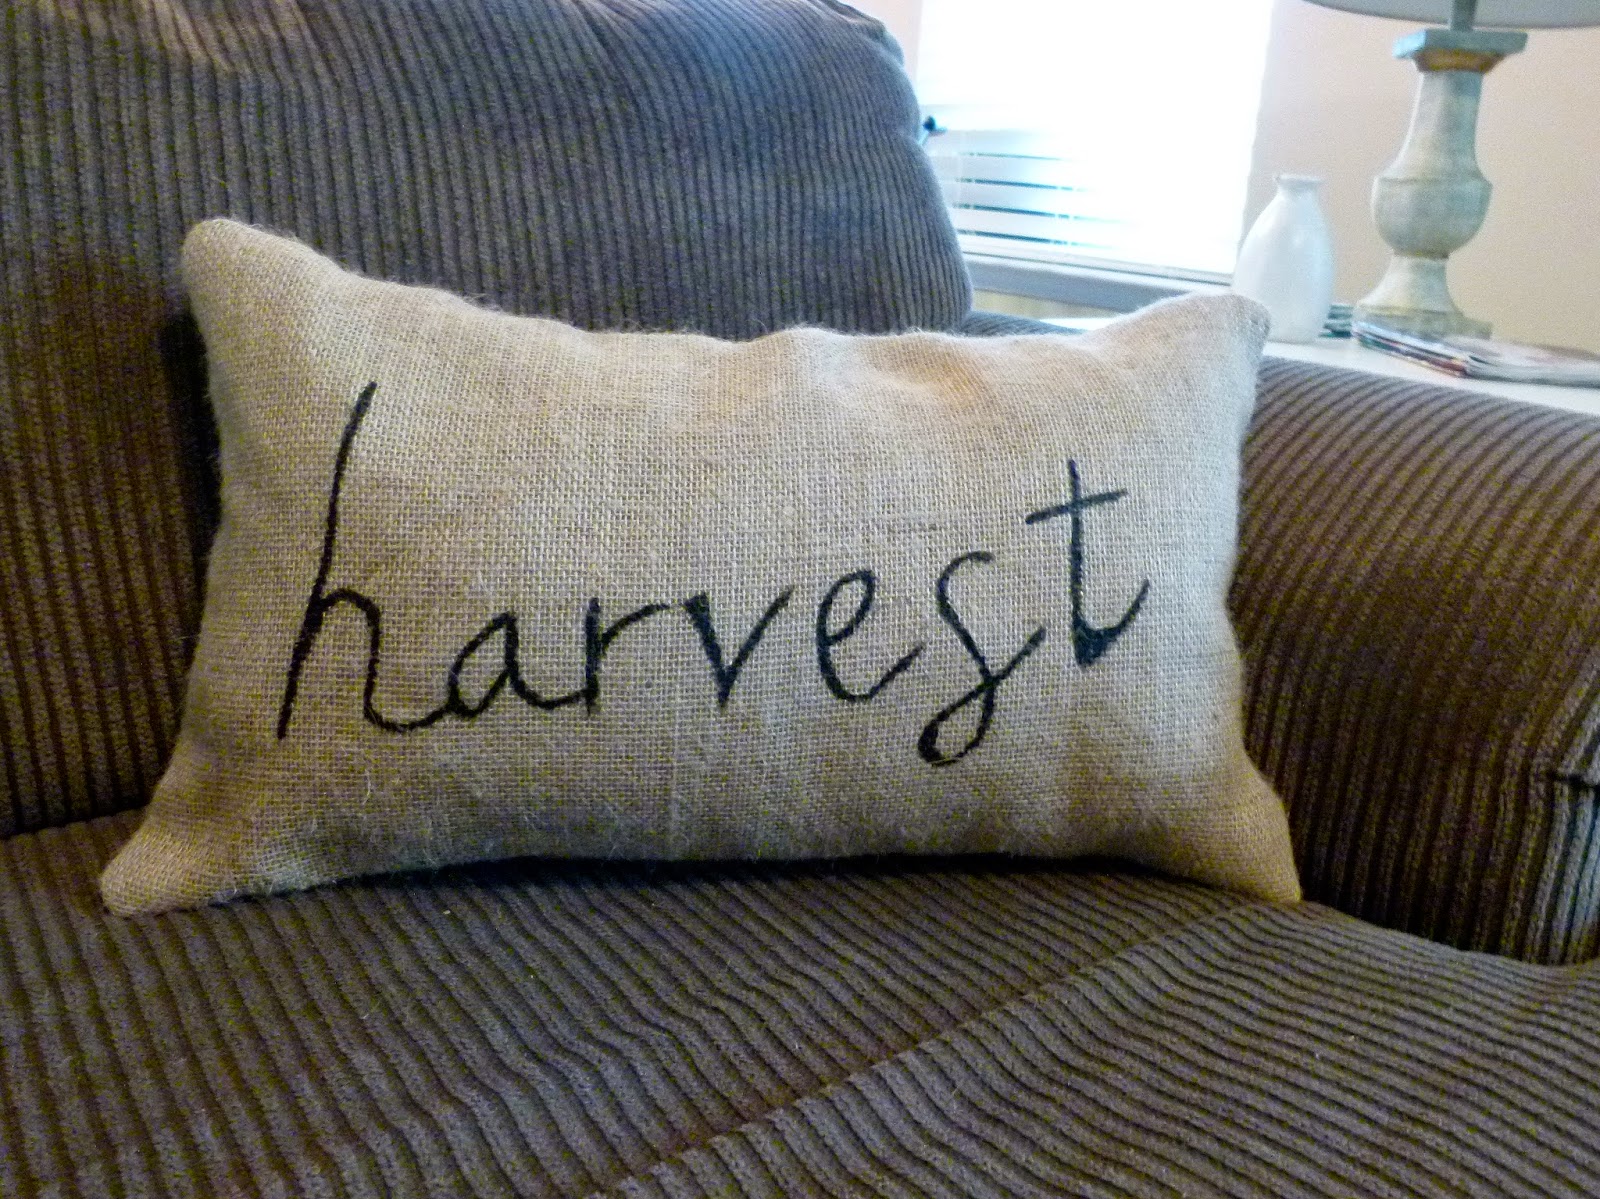
Burlap Harvest Pillow Tutorial
Materials:
Burlap, amount depends on how big your pillow is. My burlap was thin so I bought a yard, and doubled it up so it wasn't see through.
White thread
Black fabric paint
Paint brush
Freezer paper (optional)
Pillow insert

1. Fold your material in half hot dog style. (If your material was thin and you wanted to double layer it like I did, then your material will be folded in half twice now.) Place your pillow on the fabric with the longest side on the fold. Trace around it, adding a 1/2" seam allowance. Cut.
2. With right sides together, sew along one short side and the long side. I suggest you either surge or zig zag stitch the raw edges of the sides you've sewn, burlap frays badly.
3. Flip your pillow cover to have the right sides out. Find a font you like (I used Nella Sue from dafont.com) and print out the word you would like to paint on to your pillow. I just free handed the lettering, but you could also use freezer paper and make a stencil if you like crisper lines. If you want to free hand just skip to step 5.

4. Trace your word that you printed onto freezer paper and cut out the letters to make a stencil. An x acto knife would probably work best for this. Make sure to trace your word onto the non-plastic coated side. Once you have your stencil, iron it on to the burlap.
5. If you are freehand painting use a little bit of paint and make a light tracing of where and how you want your letters. Afterwards go back and slowly dab/paint more paint on to darken the letters. If you are using a stencil just paint over it. Try not to use too much paint on your brush or it could seep under the stencil.

6. Follow the drying time on paint packaging.
7. Once your paint is dry, turn the pillow case inside out again. Sew the remaining edge closed, leaving a hole big enough to push a pillow through. Bring it right side out again and push the pillow inside. Finish the open side with a hidden stitch and voila! Fun new holiday pillow.
No comments:
Post a Comment